The Zebra GX420t printer uses the EPL printing language to generate labels and invoices.
Setup
Zebra GX420t

Install
Before you can install your Zebra printer, it is important to identify the connection cable.
To help identify what kind of cable you are using, you can check the images below.
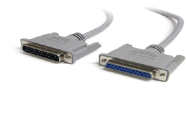
Parallel cable. Also known as an LPT cable.
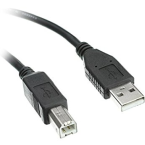
USB cable. (Most common type.)
If the install does not automatically take place, there is a Zebra setup utility at:
http://install.spotpos.com/Drivers/Printers/Zebra%20-%20Eltron/
Select ZDesignerGX420t.exe. Make sure to put the download somewhere easily accessable. Run the .exe.
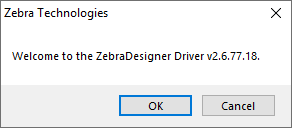
Select 'OK'.
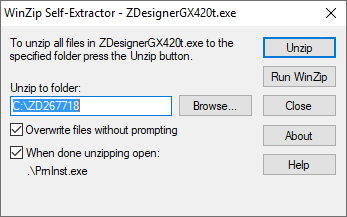
Select 'Unzip'.

Select 'OK'.
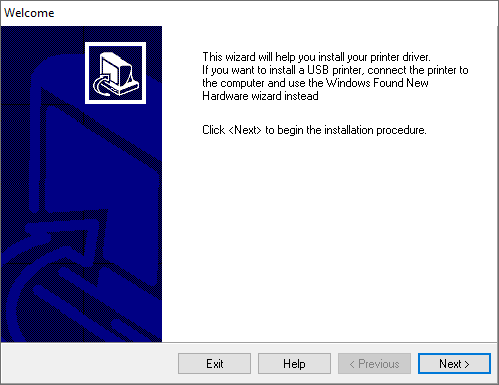
Select 'Next'.
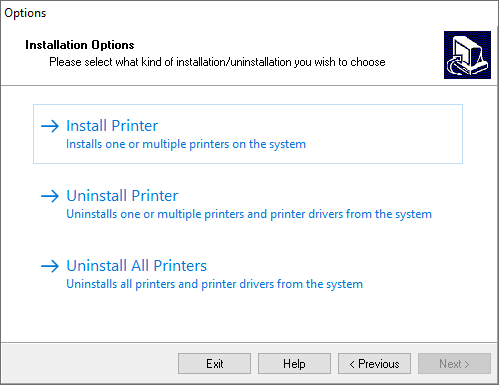
Select 'Install Printer'.
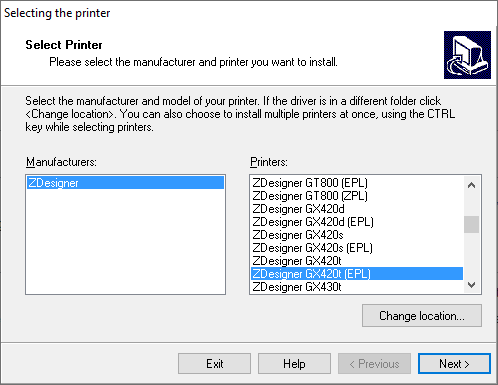
Select 'ZDesigner GX420t (EPL)' under Printers.
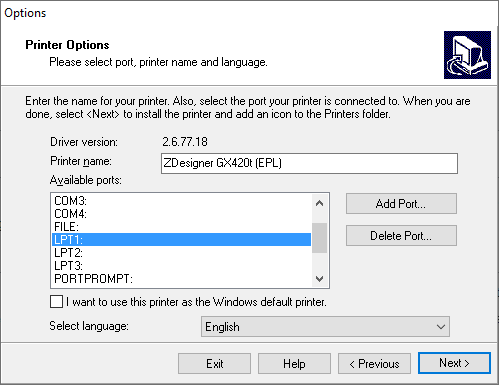
Select the port that the printer is on.
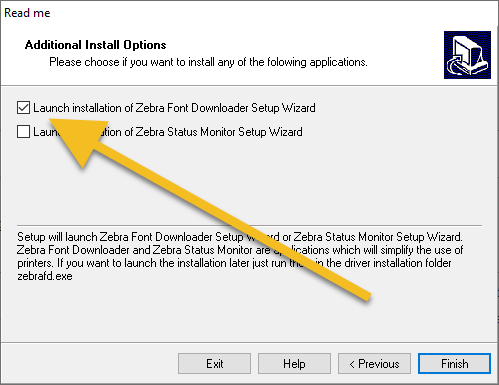
Uncheck 'Launch installation of Zebra Font Downloader Setup Wizard'.
This will complete the install of the Zebra printer. For configuration, see 'Driver Setup'.
Driver Setup
The Zebra driver has many setup options. If this is your first Zebra printer, contact SPOT support Support@Spotpos.com to assist in the initial setup. However if you have a Zebra already up and working, you can import the driver setup.
Tip: If you are using the Zebra to print garment (ItemTrac) tags, the local printer driver settings are ignored as the tag profile in SPOT defines all these settings.
(missing or bad snippet)
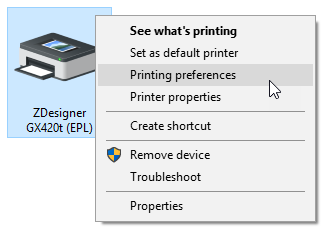
Right click your Zebra driver, then select 'Printing preferences'.
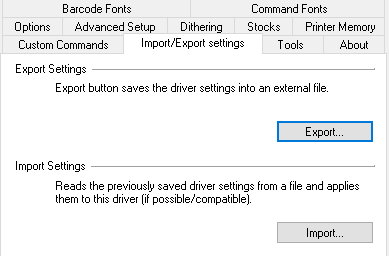
Select 'Import/Export settings' tab. Use 'Export' button to create a .drs file. You will need to then transfer this file by email, USB drive, or some other method to the computer with the new Zebra connected.
Repeat these steps on the machine with the new printer, however, choose the import button instead of the export and select the .drs file.
In addition to the preference settings, you will need to share your printer.
To begin, you will need to navigate to Windows Devices and Printers on the computer with the working printer. You can accomplish this by going to the search bar on the Windows task bar.

Type 'control panel'.
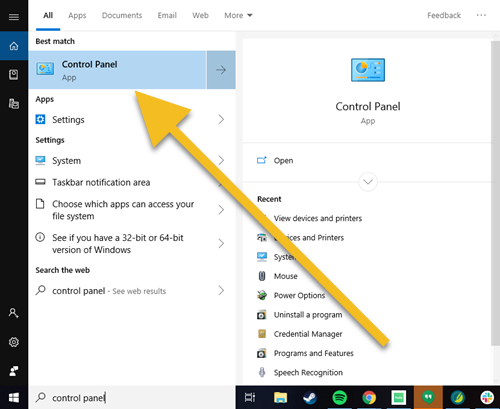
Select 'Control Panel'.
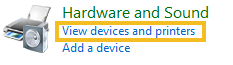
Select 'View devices and printers'.
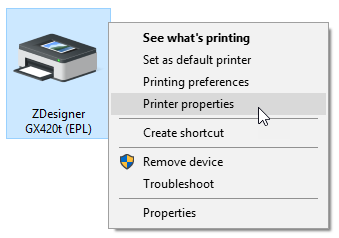
Right click your Zebra printer driver, then select 'Printer properties'.
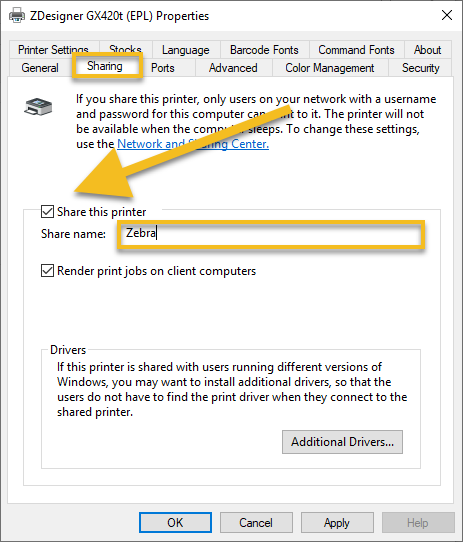
Select the 'Sharing' tab.
Then you will want to make sure 'Share this printer' is selected.
Change the name of the 'Share name:' to 'Zebra'.
Net Use
With a USB tag printer there is an additional step. Since SPOT is unable to designate a USB port for a Zebra printer, a Net Use command has to be created. This command is used to pass a command from one port to another.
Note: You only need to take this step with a USB connected Zebra printer.
To begin, open up Notepad in Windows. You can accomplish this by going to Search on the Windows task bar.
Type 'Notepad'.
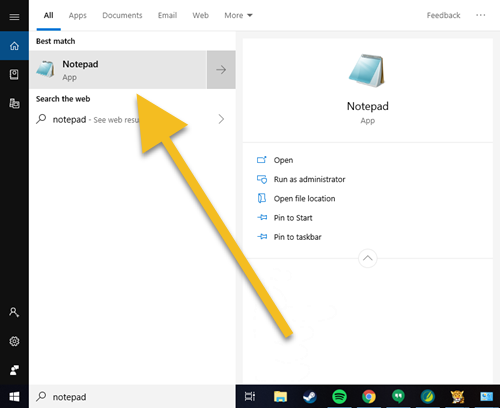
Select the 'Notepad' app.
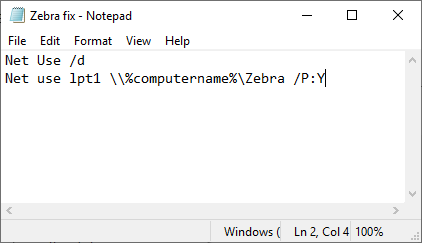
In Notepad type the following:
Net Use /d
Net use lpt1 \\%computername%\Zebra /P:Y
If your tag printer has another shared name besides 'Tag' you will need to replace that section of the second line. For instance if your share name is 'TG1' instead of 'Tag' the second line would look like this:
Net use lpt1 \\%computername%\TG1 /P:Y
Once you have the text in place, you will need to save the file as a ' .bat'.
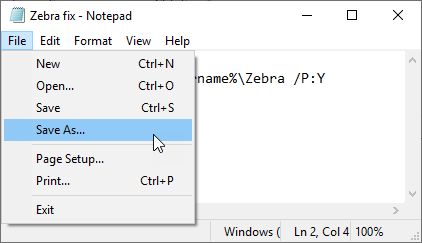
Select 'File', then 'Save As...'.
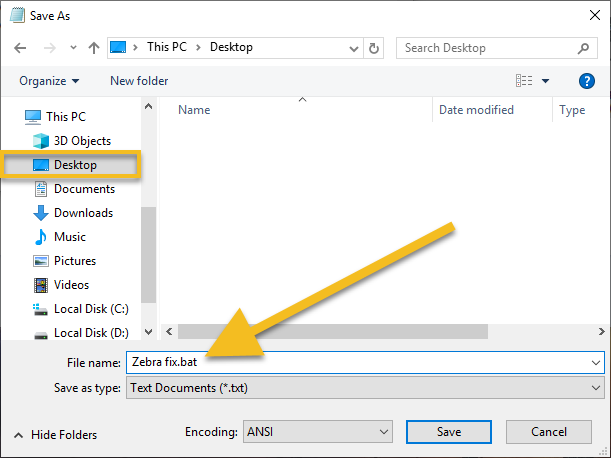
Select 'Desktop' on the left. Then change the name to ' Zebra Fix.bat'. Click 'Save'.

You should now have an icon on your desktop:
Double click the icon. A black command window will flash on screen.
You are now ready to setup your USB tag printer in SPOT!
Zebra Tag Setup in SPOT
To setup your tag printer in SPOT you will need to navigate to:
>Setup > Program Configuration > Workstation > Tag printers
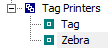
Select 'Zebra'.
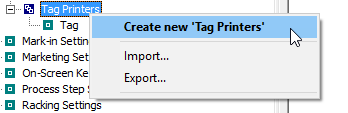
If 'Zebra' does not exist, right click 'Tag Printers' then select 'Create new 'Tag Printer'.
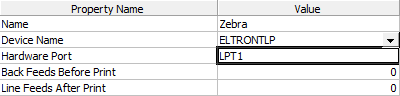
Name: Leave this as 'Zebra'.
Device Name: Set this to 'ELTRONTLP'.
Hardware port: This is the port assigned to you Windows printer driver. LPT1 or LPT2. (Or the port assigned in the Net Use command created for USB printers.)
Note: SPOT will only print to LPT1 or LPT2, you will have to adjust the port numbers in Windows if your printer is using a higher-numbered port.
With those settings completed, the Zebra printer will now be able to communicate with SPOT.
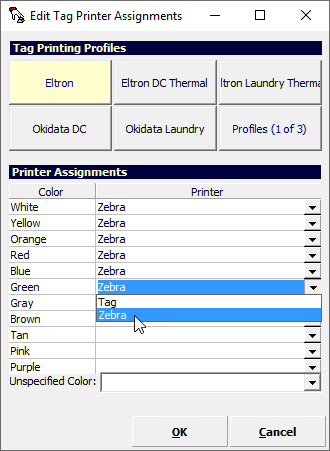
Before you can start printing, you will need to make sure that the tag printer is assigned to the tag profile in the workstation settings, navigate to:
Setup > Program Configuration > Workstation > Tagging Settings > Tag Printer Assignments > Edit
Media
This type of printer uses three types of media.
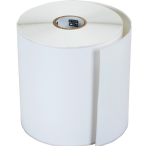
Continuous: This paper has no markings and relies on the driver dimensions to choose when to cut.
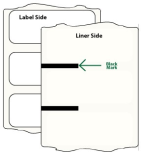
Marked: This paper roll has distinct black marks on the under side of the paper that tell the printer when to cut.
Gap (Web sensing): This paper has physical gaps between pages. (This is not often used.)
Find instruction videos from Zebra on how to load the paper:
https://www.zebra.com/us/en/support-downloads/printers/desktop/gx420t.html