The internal messaging system featured in our SPOT platform allows for seamless communication between different employee groups, as well as individuals within your business. Now, with the most recent update to Connect, internal messages are back, with a revamped UI designed to simplify the way in which you communicate with the staff at your store.
Usage
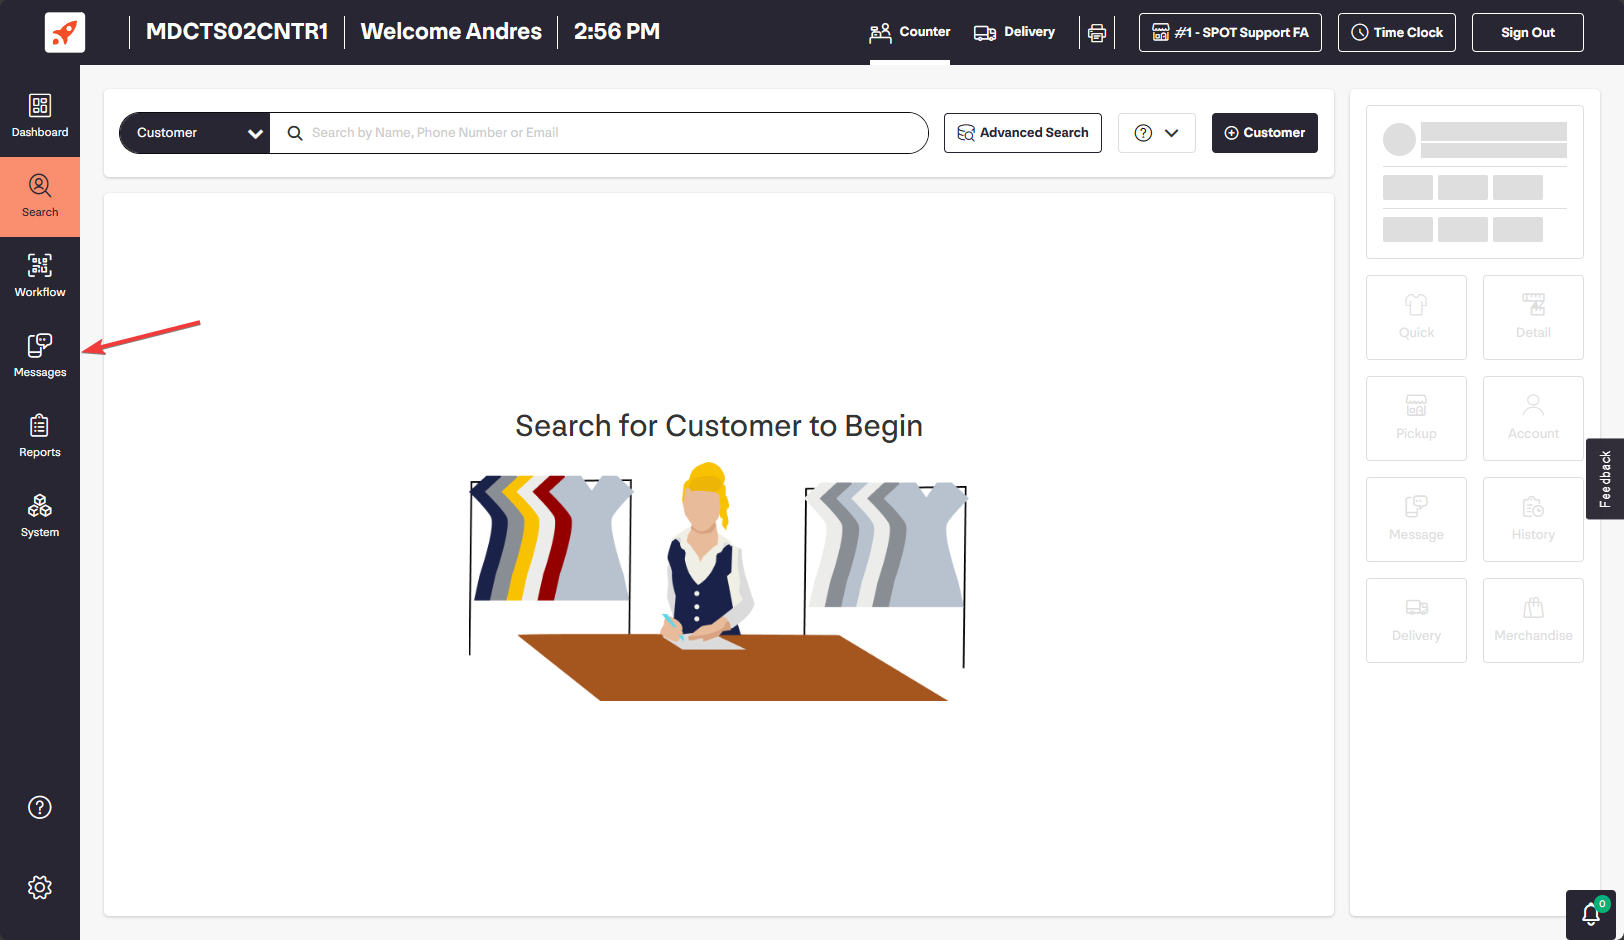
From Connect’s homepage, select the “Messages” tab on the left-side pane.
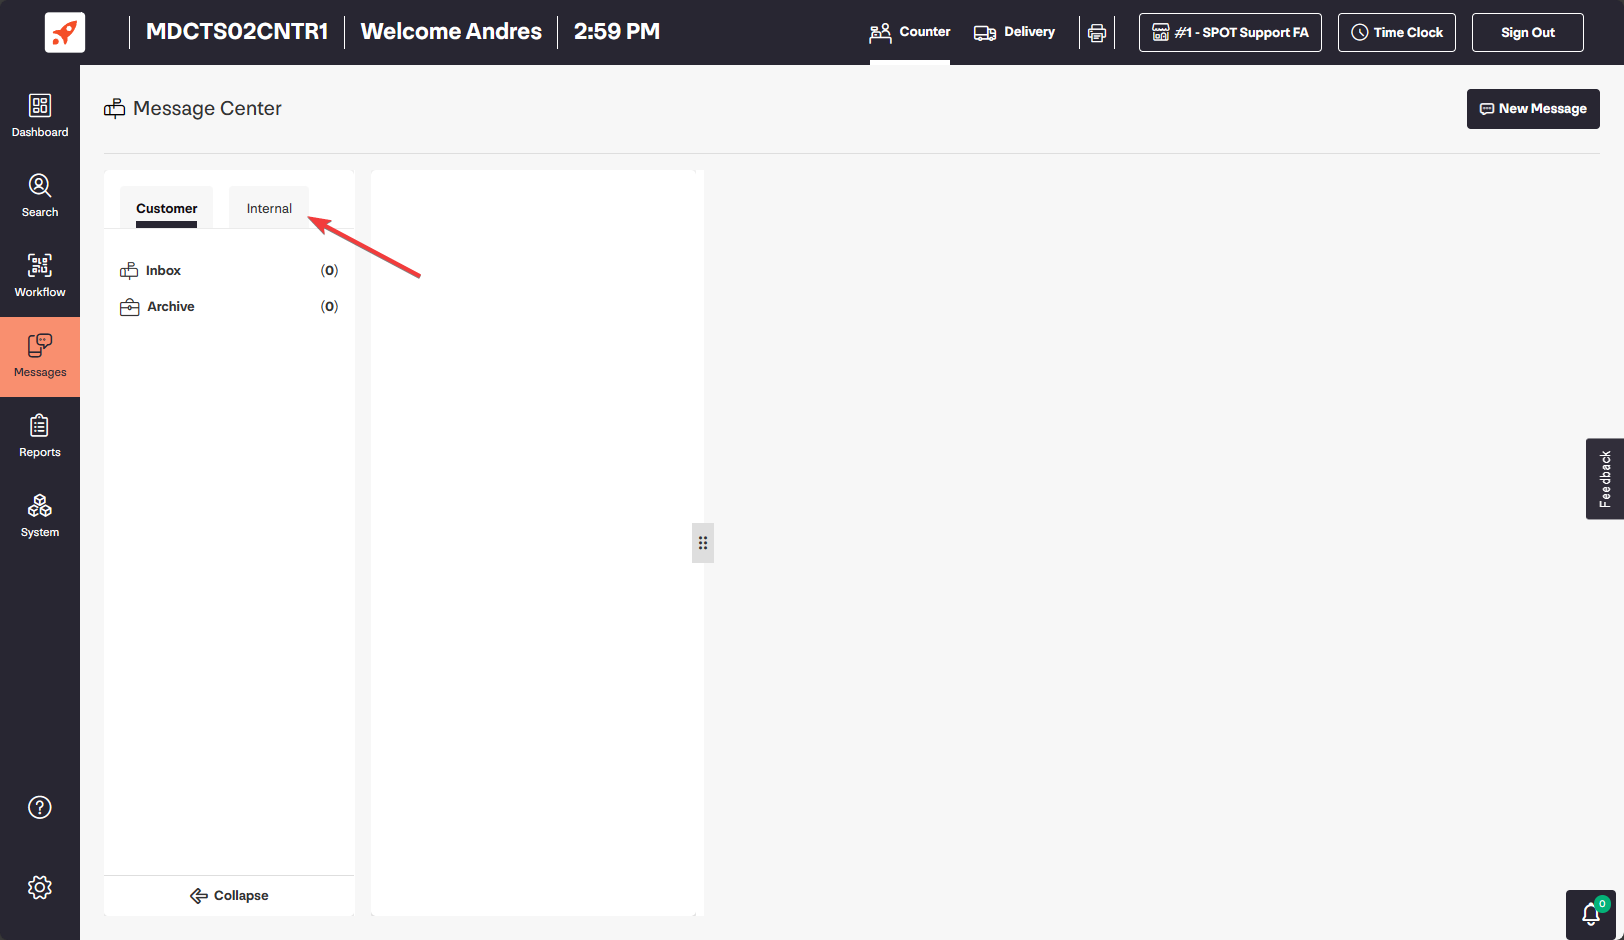
In the Messages view, select the “Internal” tab from the top section.
The Message Center
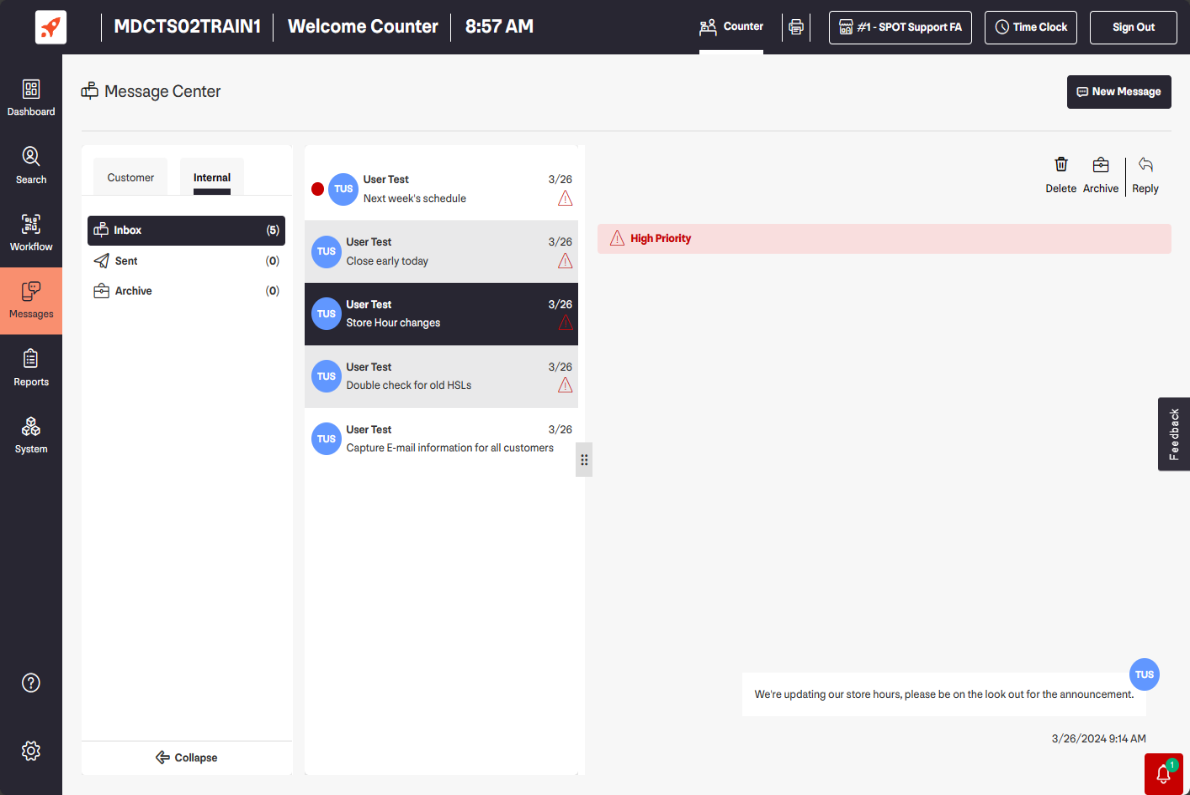
The message center contains a view of all internal messages you’ve received, sent and archived. To view a message, simply select the desired entry— the contents of the message will appear on the right pane.
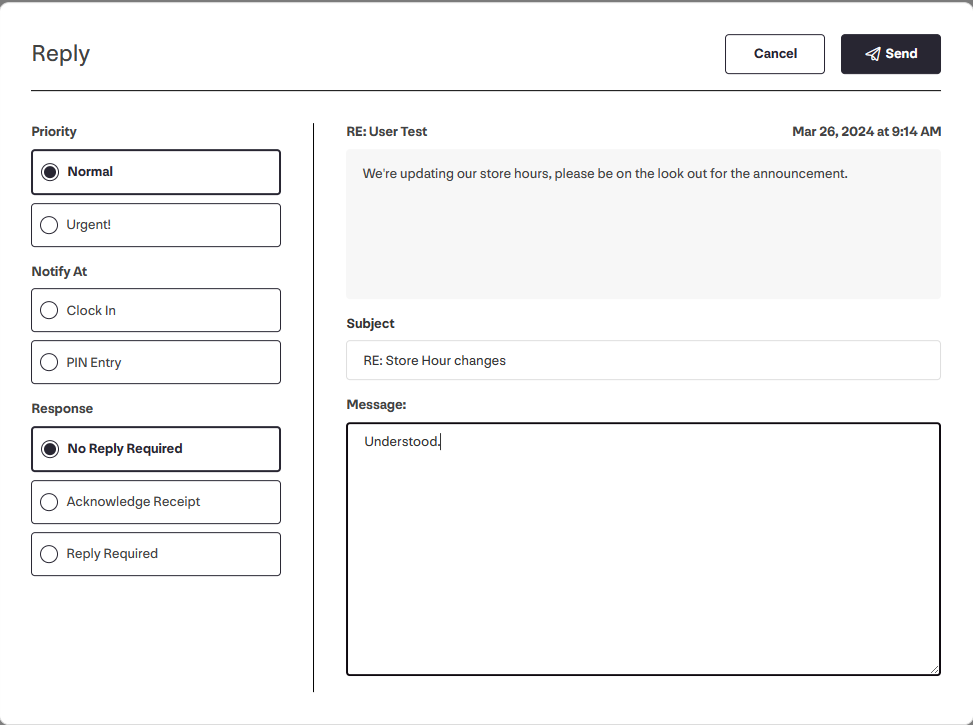
Replying
To reply to a message, click on the reply button at the top of the conversation history. 
Managing Messages
You can either delete or archive existing messages in your inbox by using the buttons to the left of the reply function.
 Will delete the message from your inbox completely.
 Will archive the message, saving the contents in your archives folder for later review.
Composing a new message
Begin by clicking on the “New Message” button in the top right of the message center screen. 
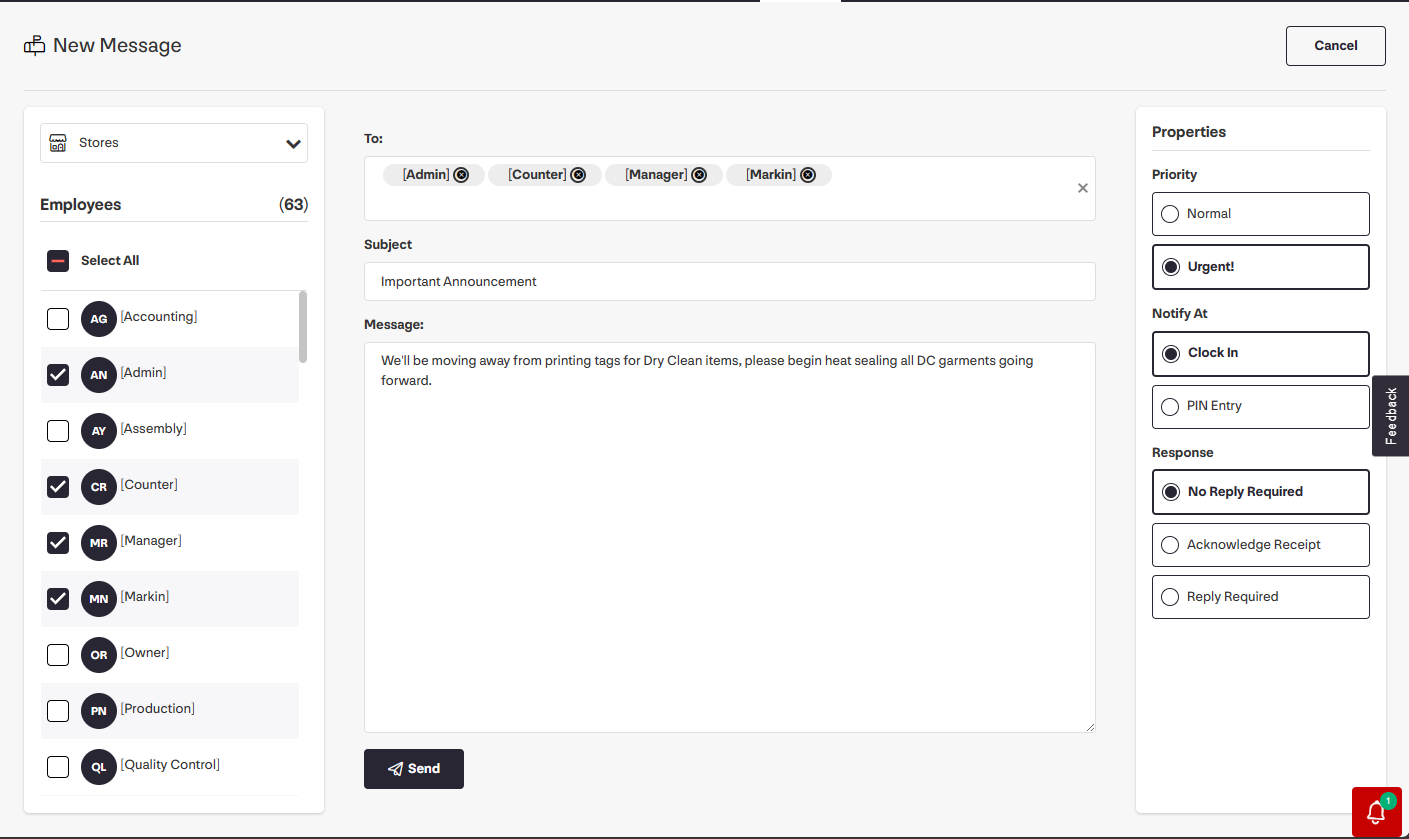
From here, fill out the necessary information for your message.
Store
The store selection drop-down enables you to choose whether to send the message to this store, a different one or all stores in your franchise.
By default, the message will be sent to the current store you are logged into.
Employees
The Employee selection column provides you with an easy way to select which groups, or individuals, this message is addressed to.
The groups that appear on this list are dependent on those that you have configured within your Users, Groups & Rights section of SPOT.
You can select multiple groups or individuals, ensuring your message is received by as many staff members as desired.
Main Body
The main section of your message contains the necessary fields for the completion of your communication.
To: The collection of groups and individuals this message will send to. This field is auto populated by the employee column selection.
Subject: The subject of your message.
Message: The contents of your message.
Message Properties
The final stage in the creation of your message requires you to specify the priority, notification triggers and response.
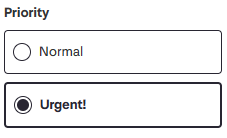
Normal: The default, standard selection. Normal messages do not generate a pop-up notification, nor do they have a red alert icon when the message is displayed on the employee’s message inbox.
Urgent: Urgent messages appear with a red alert icon in the employee’s message inbox and trigger a pop-up alert upon the specified trigger.
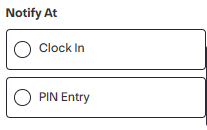
Clock In: The message notification pop-up will trigger upon the employee clocking in for their next shift.
PIN Entry: The message notification pop-up will trigger upon the next time the employee uses their PIN for an operation.
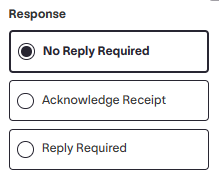
No Reply Required: The employee does not need to reply or acknowledge the message.
Acknowledge Receipt: The employee must submit a receipt acknowledgement before they can dismiss the message.
Reply Required: The employee must submit a response to the message before they can dismiss the message.
Once you’ve filled out the required fields and selected the appropriate options, click on the Send button to finish and submit your message. 
Notification Trigger
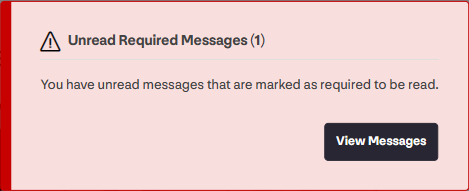
Notifications will pop-up based on the message specifications, alerting the employee or group of a new, urgent notification that they must acknowledge.
An example of the notification can be seen below.