Invoice printers are the backbone of printing in SPOT. Let's help you get set up! This process isn't for printers with a parallel-to-USB adapter in place.
Select your device:
Invoice printers with APD456e
Confirm the printer is connected.
Go to Control Panel > View Devices and Printers
Confirm 'T88V' is listed in the 'Unspecified Devices' category. If no entry appears, go to Device Manager, and perform any updates.
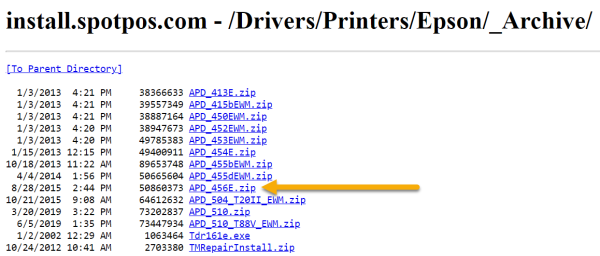
Download the Epson APD456e installer.
Install the printer.
Run the installation wizard. Select the middle option of 'Standard' or 'Custom'
Click 'Add'
Click the 'Select driver' drop down field and choose the 'EPSON TM-T88V Receipt' driver.
Change the printer’s name from EPSON TM-T88V to "EPSON"
Print a test page.
Go to 'Devices and Printers'
Right-click the printer
Select 'Printer Properties'
In the 'General' tab, click 'Print test page'
Adjust the paper size settings.
In the 'Advanced' tab, click 'Printing Defaults…'
In the 'Layout' tab, click the 'Paper Size' drop-down menu
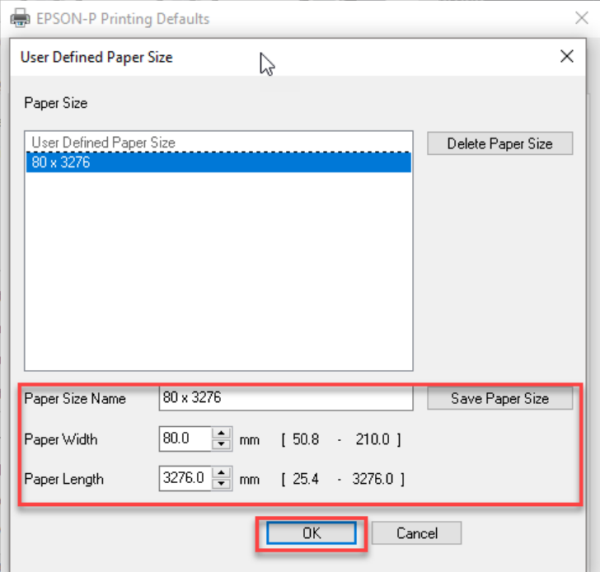
Select 'User Defined Paper Size'
Change the 'Paper Size Name' to 80 x 3276
Set the 'Paper Width' to 80 and the 'Paper Length' to 3276.
Click 'Save Paper Size' then click 'OK' and 'Apply'
Adjust the SPOT settings
Go to Program Configuration > Workstation > Hardware Settings > Printers > Epson
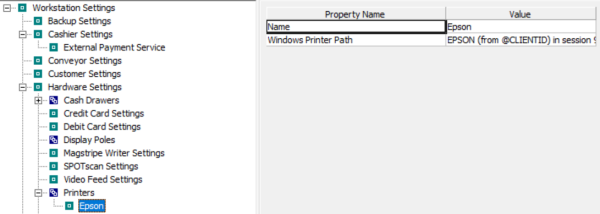
Right-click on 'Windows Printer Path,' select the EPSON printer you installed, and then click save.
Test printing by reprinting an existing invoice or detailing a new order.
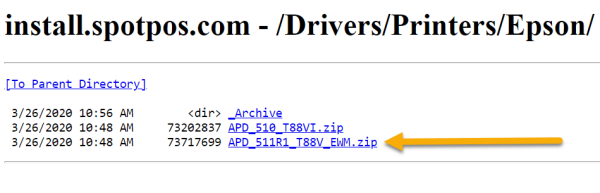
Invoice printers with APD_511R1
Install the printer
Confirm the cable connecting the cash drawer to the printer is connected correctly. The word “printer†and an arrow symbol indicate the end of the cable that should be connected to the printer.
Download the EPSON APD_511R1 installer.
Run the Installation Wizard until the 'Register, Change and Delete EPSON TM Printer' screen appears. If a version of APDvX has already been installed search the Windows start menu for 'APD' to access the driver installer menu.
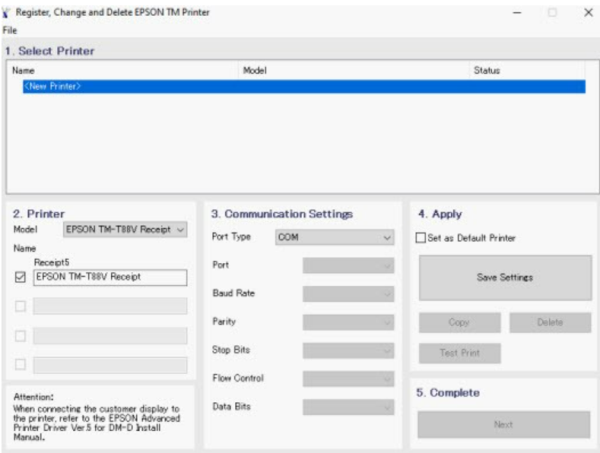
Rename the printer to EPSON and change the port type to the connector type. The driver will create the port information automatically. EPSON should now be listed as a printer.
Don’t select 'Set as Default Printer'
Set up the cash drawer
Double-click on <New Printer>
Rename the printer to CashDrawer
Use the same connection type
Manually set the port to match the EPSON printer.
Configure the driver
Press CTRL+R then type “Control Printers†to open the Devices and Printers list
Right-click the EPSON printer of the Cash Drawer and select Printer Properties.
Click the Printing Defaults button in the Advanced tab.
In the 'Layout Settings' window, click Advanced. Set the EPSON driver paper size to 80x3276
Proceed based on whether the Z-reports should be printed in the same strip or cut:
Printed in the same strip: Leave the Feed and Cut settings as they are.
Cut: Change the settings to Page[Feed, Cut]
Confirm the settings are correct in the General tab.
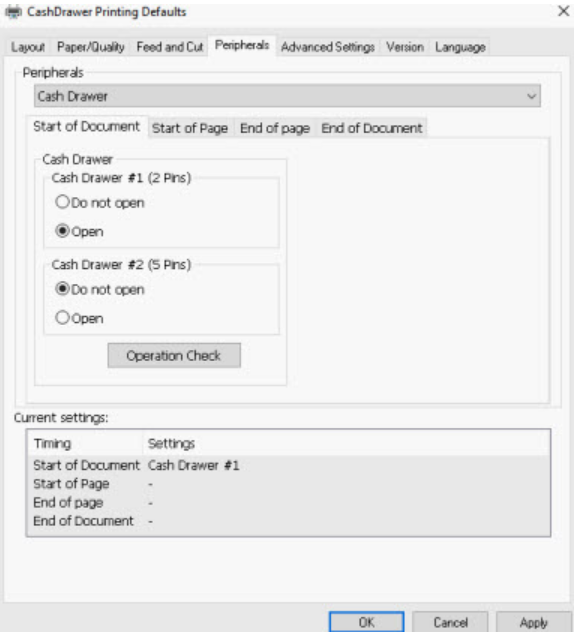
Configure the CashDrawer
In the Feed and Cut tab, choose [No feed, No cut]
In the peripherals tab select 'Cash Drawer' from the drop-down menu.
Select 'Open' for Cash Drawer #1 and 'Do not open' for Cash Drawer #2