The Spot File Manager provides you with the ability to manage your own custom templates for Email, SMS, and Word merges.
Tip: The Spot File Manager is only compatible with computers running Windows.
Activity Rights
Before a user is able to access the Spot File Manager, they will need to have the activity rights assigned.
To enable the File Manager Activity Rights:
Click on Setup to get the Setup menu
Select Users, Groups, Rights..

Go to the Activities Rights tab
On the left of the screen, select the user group to grant access to
On the right, under Activity Rights, scroll down to the File Manager section and check off the rights you wish to assign
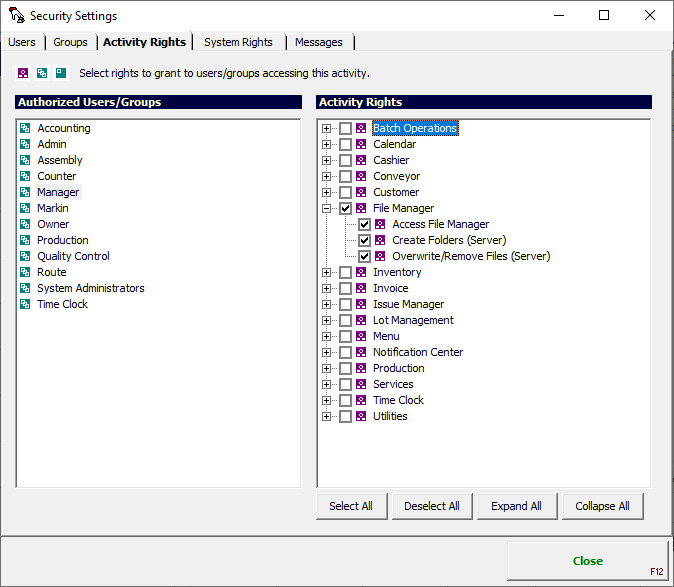
When finished, click on the Close button
Tip: When changing Activity Rights it is sometimes necessary to close and restart Spot for the changes to take effect.
Opening the Spot File Manager
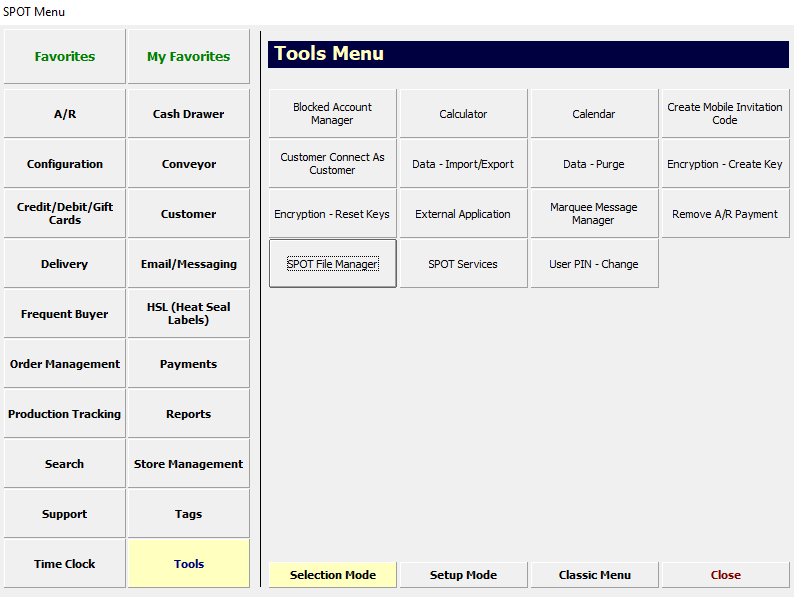
Click the Menu button or press the F3 key on your keyboard
Select the Tools tab on the left
Click the Spot File Manager button
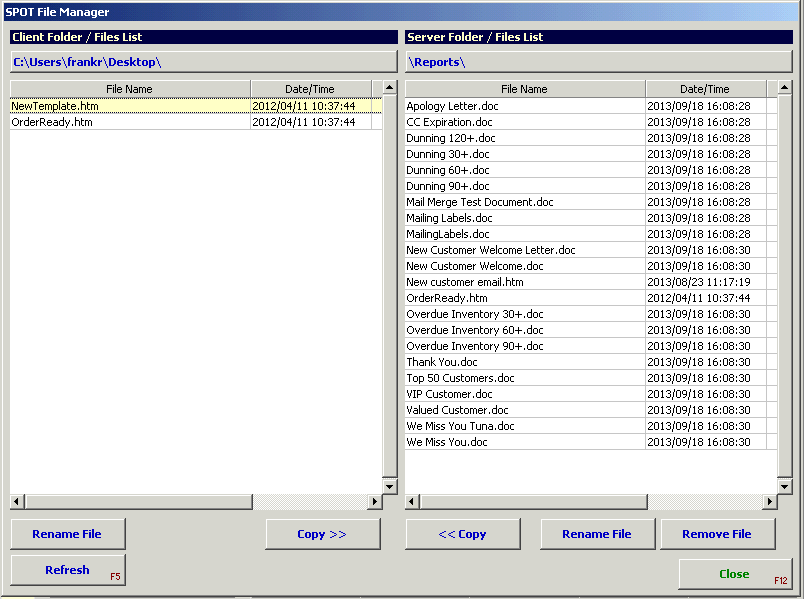
Using the Spot File Manager
The Spot File Manager is a “split screen” design where the local computer’s files are displayed on the left side and the files on the Spot server are displayed on the right. This design allows the user to independently navigate to locations on the local computer and the server, then transfer files between the displayed locations.
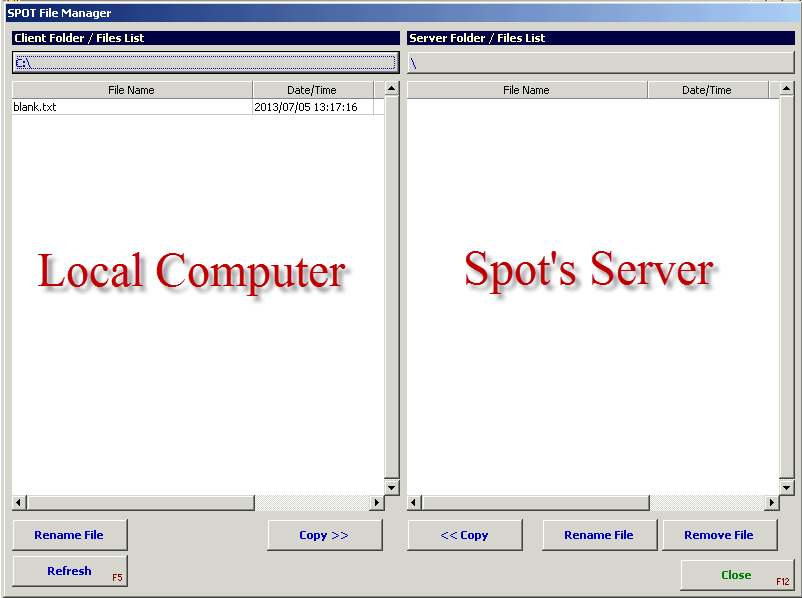
To change folders, click on the folder button.
Client Folders

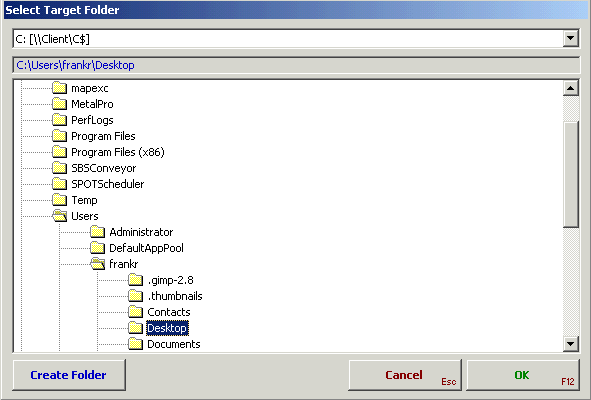
Clicking on the Client Folder button will open the folder selection window. The drives and folders displayed are from the local computer.
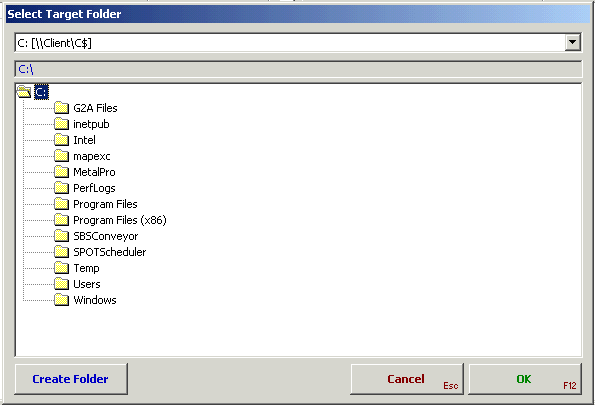
To select a folder, click on the folder to highlight it. Then click the OK button to select it.
To access a sub-folder, double click on a folder. For example, to get to the Desktop for a Windows 7/8 computer:
Double click on the Users folder
Double click on the folder with your Windows user name
Click on the Desktop folder to highlight it
Click the OK button to select
After a folder has been selected, any possible template files will be displayed in file list.
The server folder button functions the same as the client folder button, except that it will display the folders, on the Spot server, assigned to your account.
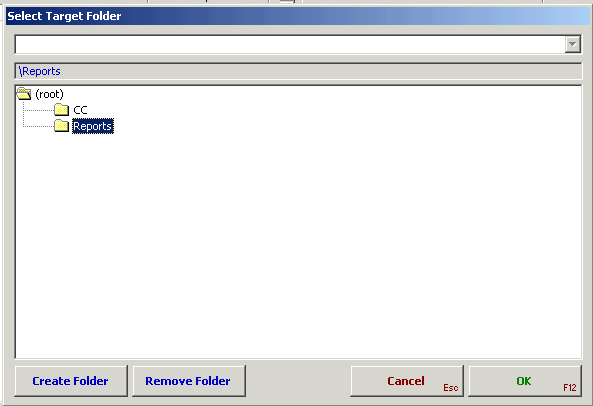
Templates for email and reports are located in the Reports folder.
After selecting the folders on the client and server you are now able to work with the files in the displayed folders. The most common task will be copying files between your computer and the server and vice versa.
In order to edit a template file, the file must be copied from the server to the local computer where it can be edited.
In the Server Files List, select the file to be copied to your computer.
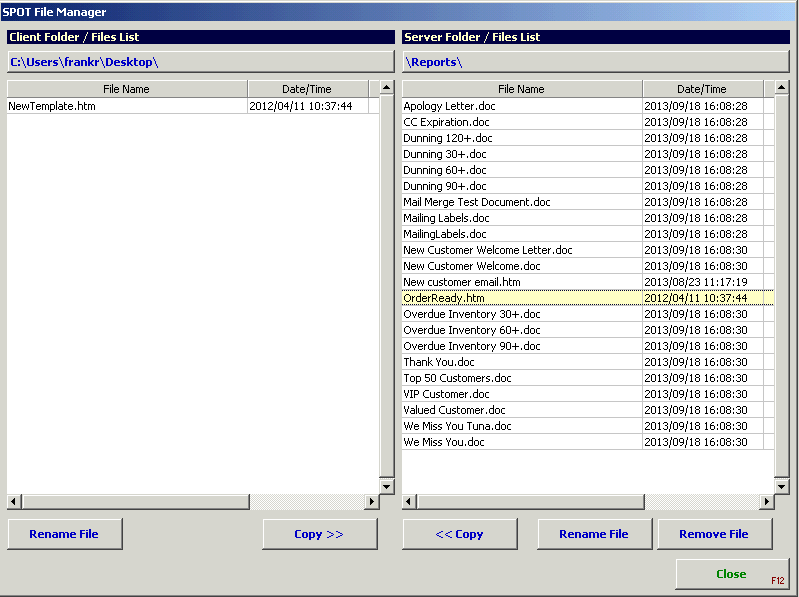
Click the <<Copy” button.
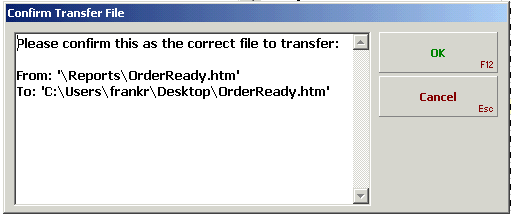
Click the OK Button to confirm the copy.
With the file copied over to your computer, you can edit it computer with whatever program you choose.
When you have finished editing a file it needs to be copied back onto the server. New template files will also need to be copied to the server in order to be used in Spot.
When copying a new template to the server:
Select the file on the client side to be copied to the server.
Click the Copy>>” button.
Click the OK button.
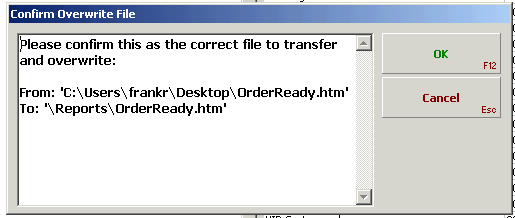
When copying an existing template back to the server:
Select the file on the client side to be copied to the server.
Click the “Copy>>” button.
Click the OK button.
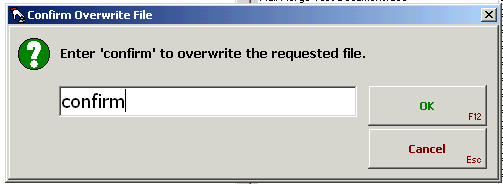
Type the word “confirm” then click OK.
The modified file is now on the server and is available for Spot to use.