This method allows the assembly staff to scan individual garments and place them on predesignated locations (e.g., hooks or slots). Once all the garments that belong to an invoice are collected, the system is ready to move on to the next step in assembly.
Overview
Assisted Assembly is a great example of how SPOT makes the drycleaning business easier. By using this assembly method, you can save your team valuable time by automating most of the process. Based on personal preference, you can simply scan an invoice or tag to begin assembling an order.
Setup
Company Setting
Setup > Program Configuration > Company Settings > Workflow Settings

Modify the "Assembly" Process step to match the following:
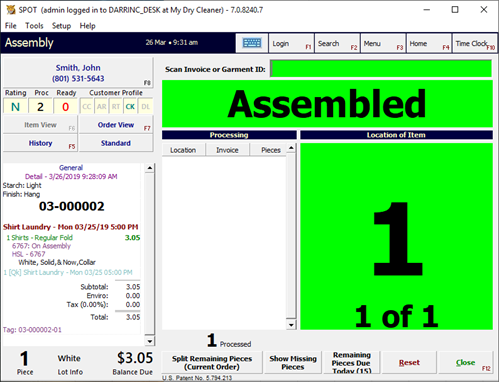
Handler: Assembly - Single Screen
Internal Status: In Process
Store Settings
Setup > Program Configuration > Store Settings > Process Step Settings > Assembly Profiles
Create an assembly profile for each bay you would like to define.
Name: Use a unique name for each bay created. Tip: It is recommended you name it “Bay 1”, “Assembly 1”, etc.
Assemble By: Define how you would like to assemble your orders by enforcing rules on what may be in the bay at any given time. Most customers will use either “No Filter” or “Department” (the latter will use the first department item scanned to a bay as the filter until the entire bay is cleared).
Beginning Position: This is the starting slot in this bay. Start with 1 in most cases. If you have multiple bays, it is a good idea to start the second bay with a unique number sequence. Tip: Start with '1' in the bay 1 profile and '100' in bay 2.
Last Position: This is the last slot in this bay.
Print Invoice At Assembly: If this is checked, the invoice will print on the 1st piece. If used in conjunction with the “Auto Split Qty:”, the invoice will print on the last piece of the order rather than the first item.
Warning! This setting changes how an order is started in the assembly screen. If this is checked, scan an HSL/Itemtrac barcode instead of an invoice barcode to begin the assembly process.
Auto Split Qty: This setting works with the 'Print Invoice at Assembly' setting. This will take the first 'x' pieces of an order and auto-split them as they pass through the assembly bay. For example, you may have a 10 piece order and this setting is set to 4. The first 4 items that are scanned to the assembly bay will split and complete a new order and will be removed from the bay. The next 4 items scanned will split to a new order, and the remaining 2 items scanned will split to the 3rd and final invoice for the 10 pieces.
Workstation Settings
Setup > Program Configuration > Workstation Settings > Process Step Settings
Select the Assisted Assembly profile from Store Settings to be associated with this workstation.
Setup > Program Configuration > Workstation Settings > Report Settings > Printer Assignments
Select the printer and invoice template you want used when printing invoices at that assembly station.