Use Holiday Schedules to plan the days when Routes will not be run. Create as many Holiday Schedules as there are specific scenarios. If all locations will operate under the same Holiday Schedule, then create only one. If some stores will be open during particular holidays and others will not, then create multiple.
1. Add a new Holiday Schedule
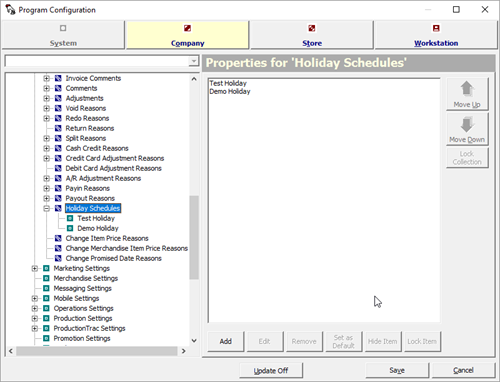
Go to Program Configuration > Company > Mark-in Settings > Holiday Schedules.
Click Add to create a new Holiday Schedule.
2. Edit the Holidays
Name the Holiday Schedule and select Edit.
Select Add.
Name the new Holiday, set it's start- and end-dates, and toggle Production and Notifications.
Disable Production During Holiday When checked, Orders will not be promised for this date.
Disable Notifications During Holiday When checked, notifications like Route Reminders will not be sent to customers.
Select Ok
3. Assign the Holiday Schedule
Once a Holiday Schedule is created, assign it to a store, a Spot route, or a Delivery Connect route for it to take effect.